I cannot tell you how happy I was to work on this project. This is the first quilt that I have made, and I put this lap quilt together by my own ingenuity without tutorials or study. This is the most wild thing I have done my entire life! :)
I started by choosing my fabric and cutting out as many 3.5" x 3.5" squares I could make from each piece. I came out with a little more than 160 squares, and decided to make a 10 x 16 square lap quilt.
My next step was to sew the squares into strips and then sew the strips together. I was pleasantly surprised to find that many of the corners matched up very well.
After the entire top was pieced, I cut the muslin that I used for the back.
While I was cutting the fabric for the back, I also cut strips that I used for the edging.
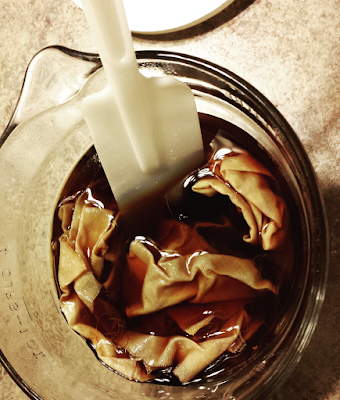
Since the back and the edges are muslin, I wanted to make sure there would be a noticeable color difference. To darken the color of the edging pieces I coffee stained them overnight.
Next, I cut my batting and pinned the top, batting, and back together.
From here, I hand sewed the three layers together in a triangular pattern.
As a side bar, one of the times the thread got tangled it shifted into the shape of a beautiful treble clef and I could not resist sharing this. Now, back to the quilt!
I used the machine to sew the edging onto the front, and then hand sewed the edging on the back side.
My corners are a bit rough, but with diligent hand sewing I was able to make them kind of corner-y.
And here's the finished lap quilt, my lovely little creation!
Hopefully this project has been helpful, or even inspirational. Happy crafting!


