I started by choosing my fabric (felt) and then measuring and marking 2 squares of the same size on the fabric.

Cut out the squares. Fabric scissors work best for keeping the ends sharp and unravel-y. I personally like the Fiskars brand.

Next comes sewing. Start by sewing along the edge. When you get to the corner, leave your needle in the fabric, lift the foot, then spin the fabric so that you can transition seamlessly from one side to another.
Do this for three sides.
On the fourth side, sew about 3/4 of the way down then stop, sew in reverse, then forward, then reverse again (so that your thread doesn't unravel where you stopped). You can sew more or less than 3/4 of the way down, but the gap that is left needs to be big enough for your hand to fit through.

The gap that is left open is where you will stuff the stuffing into.

You will want to turn the pillow inside-out (which is actually right-side-out because the side that is out now is the actual outside of the pillow).

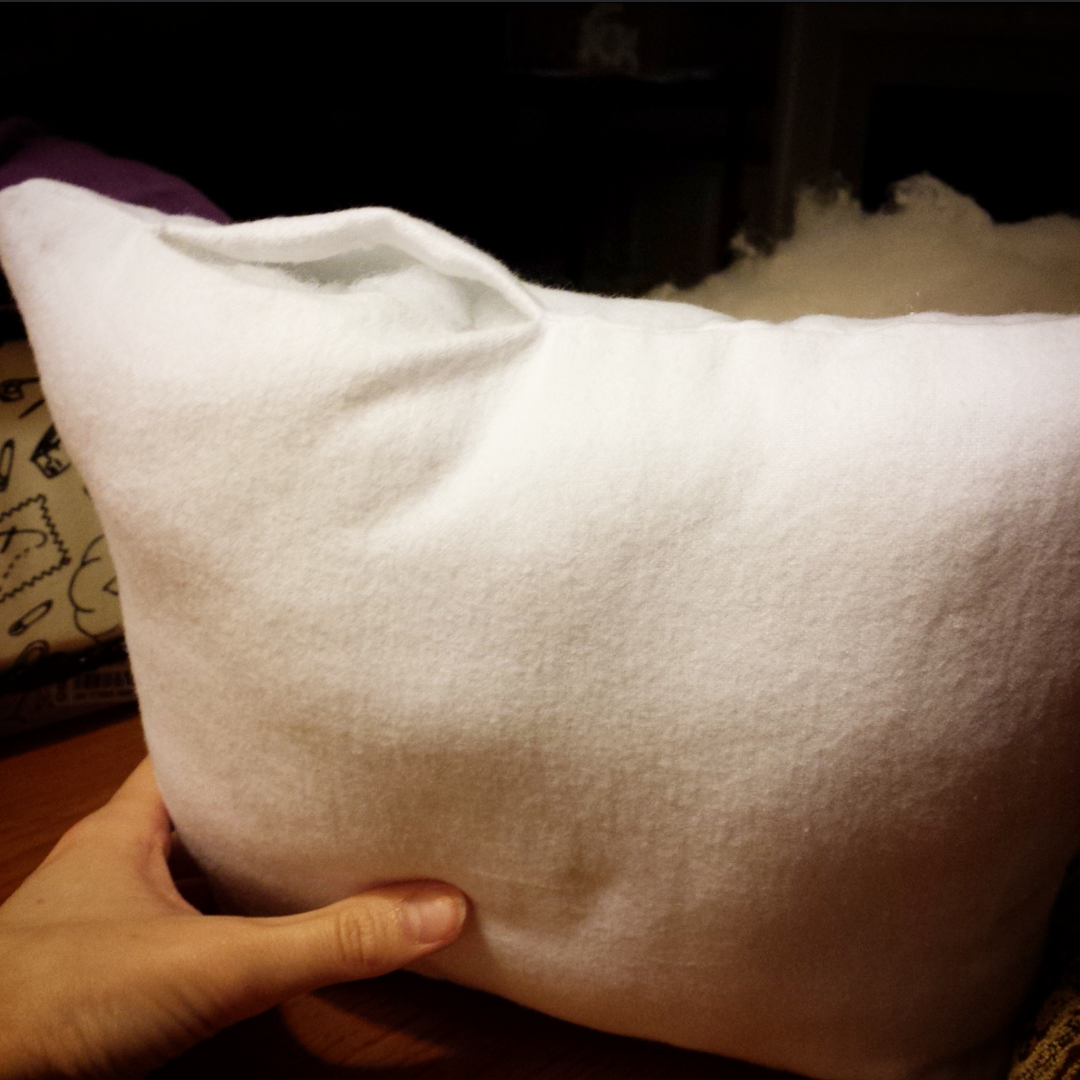
Find the gap you left and beginning stuffing. It is important to stuff carefully in the corners to ensure that they are fully stuffed and that the stuffing is fitting all the way down into the corner (it likes to make itself into a big bunch just outside of the corner).

I like to stuff my pillows pretty full, almost to the point of being overfull. A good test is... After a while of being laid on and leaned on and what-not, the pillow can deflate if not stuffed well.
To sew up the gap, fold the fabric inward on each side (about the same length as the distance you sewed away from the edge) then pull the needle through both sides. Do this all the way down the gap and then tie off. If you can, try to sew small stitches to keep the thread hidden better.

Now it's time to get started on the embellishment! I picked out some lovely green felt which I will be using as leaves. I cut a small portion from the large bundle to make the leaves easier to cut.

 Though I followed no pattern, you can easily create a simple leaf pattern by tracing a circle on your fabric (using an old cd or coffee mug) and tracing another circle that overlaps the first. You then cut out the piece that overlapped.
I cut seven leaves total, and then arranged them in two clusters. This is my favorite cluster.

I created what I will call a "belly button" in the pillow that pulls the center inward from both sides. I did this by sewing back and forth between the two sides numerous times, all while pulling on the thread to keep it tight, which sucks in the pillow. I did this about 4 times back and forth and then tied the thread off.

I positioned all of my leaves on the pillow the way I wanted them. I left the center empty for now to leave space for my blooming flower which will reside there.

I did sewed a line about half way up each leaf to keep them connected to the fabric, while still allowing them to move freely on the edges. Repeat with all leaves.

Once finished you can slightly curl the tips for a nice whimsical look.

The next step is making the flower. You can read through the instructions here.

Now to add the flower to the pillow!
I started by turning the flower upside down and pushing the needle through the center of the flower.

I then placed the flower right side up on the pillow where I wanted it.

Then I took the needle through the pillow, then back into the flower, then back through the pillow and pulled it through. I continued doing this all around the flower base. To give the flower a wider base, I sewed higher onto the flower petal

Lastly, I tied it off and the pillow is done!

As always, happy crafting!
No comments:
Post a Comment